Holiday baking just got easier with this homemade Instant Pot Apple Pie Filling recipe! In just FIVE minutes you will have a delicious apple pie filling to make a killer pie that your family will love!
This recipe is for adults 21 and older and does contain alcohol. I will include alcohol free alternatives later in the post.
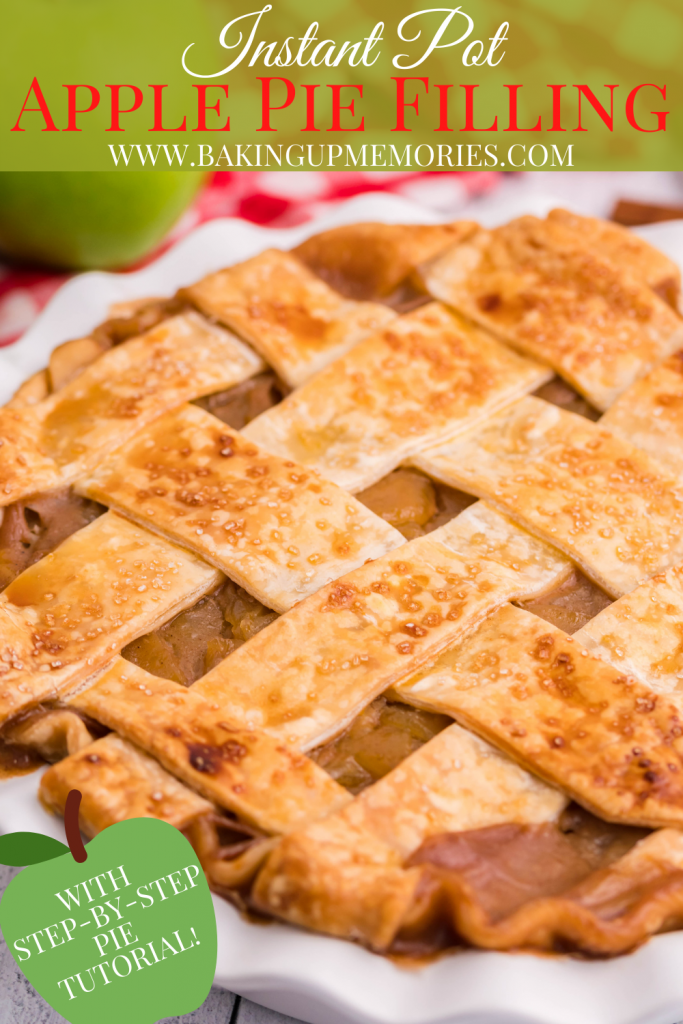
I am going to be honest with you guys, this post is going to be a long one, BUT stick with me, because I am going to give you a step-by-step tutorial from making the Instant Pot Filling to baking the perfect apple pie!
No filler here, (see what I did there..) just helpful tips for success.

HOW TO MAKE INSTANT POT APPLE PIE FILLING
The worst part of making an apple pie is peeling and slicing all the apples. It is definitely a labor of love, but so worth it when you take the first bite!
You want to start by preparing all of your ingredients and peeling, coring, and slicing up about 4 lbs. of apples.
I find it is best to use a variety. I recommend using a tart and sweet variety. For this recipe I used granny smith and honey crisp apples (I am OBSESSED with honey crisp apples).

Next, you want to toss your apples in a little lemon juice. This keeps your apples from browning, but also enhances the taste as well.
Add brown sugar, granulated sugar, cinnamon, nutmeg, water, and apple pie baileys liqueur into the bottom of your Instant Pot. Add the apples in and toss in the mixture until they are completely coated.
Set your pot to manual high pressure for 1 minute, and allow the pot to naturally release for about 5 minutes. Release any remaining pressure.
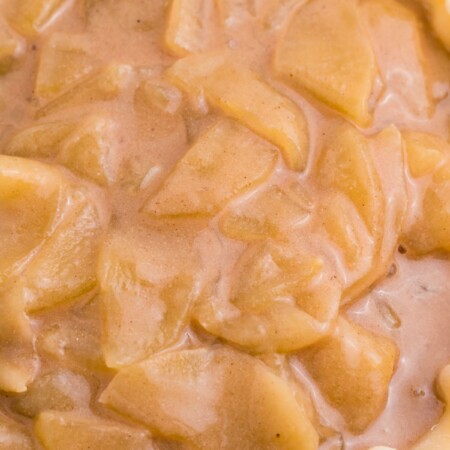
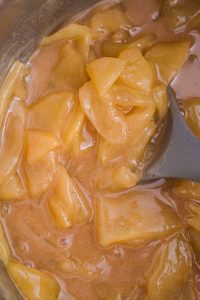
Remove about 1/2 cup liquid, and add in 1/4 cup cornstarch and whisk to make a slurry. Add back into the apples and mix until thickened. Add the apples to a large bowl and allow to cool to room temperature. Transfer to the refrigerator for a few hours to overnight to allow the apples to cool completely and the sauce to thicken.

STEP-BY-STEP APPLE PIE TUTORIAL
Once your pie filling is chilled. You want to start to prepare your pie crusts. I used premade refrigerated crust (Cause that’s my business), but you can make your own if you like.
Add one pie crust into the bottom of a slightly sprayed pie dish. Press the crust up against the sides of the dish keeping the crust as straight as possible. Then take your thumb and forefinger from one hand and the forefinger from your other hand and “crimp” around the edges of the crust.

Pour in your pie filling and smooth the cinnamon apples as best you can. Roll out the other piece of dough and place it directly on top of the apples OR you can choose to do a lattice top.
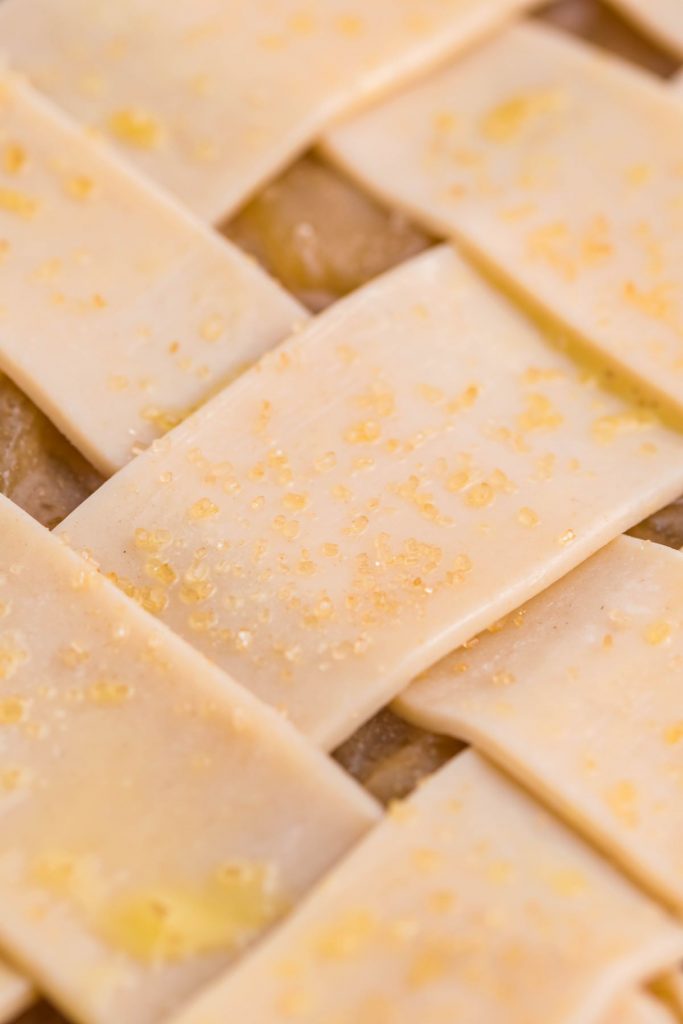
I love doing a lattice top when I can. It doesn’t have to be the prettiest, just taste good. Am I right??

Make an egg wash out of 1 egg and about 1 tablespoon of milk and brush that all over the crust. I also sprinkled on some coarse sugar, this part is optional but it is pretty and adds a little sweetness.

Place the pie in the refrigerator while you preheat your oven to 425 degrees F. Once the oven is preheated, bake the pie at 425 for 15 minutes.
Cover the outside edges of the crust with a pie shield or get a square of aluminum foil a little bigger than the size of your pie. Fold it in half, then in half again so that it’s in quarters. Then use scissors to cut out the middle section. When you open it, you will have a square of foil with a circle cut out from the center.
Reduce the temperature to 350 degrees and continue baking your pie for 50-60 minutes. You will know the pie is done when the edges and the center is golden brown. If you did a lattice crust, you should see the filling bubbling through the openings.
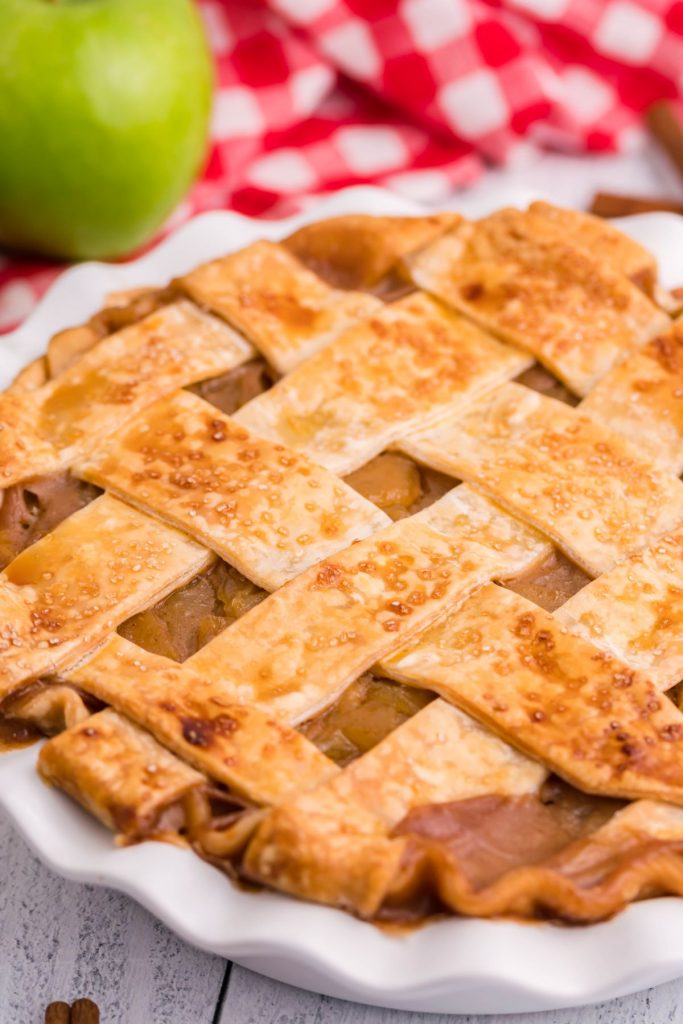
And.. that’s about it! Serve warm with a big scoop of ice cream. There is nothing better than a big slice of apple pie with vanilla ice cream!


EQUIPMENT USED IN THIS RECIPE
IF YOU LOVED THIS INSTANT POT APPLE PIE FILLING AS MUCH AS I DO, MAKE SURE YOU SHARE IT WITH YOUR FRIENDS ON FACEBOOK AND PINTEREST SO THEY CAN MAKE IT TOO!

Instant Pot Apple Pie Filling
Ingredients
- 4 lbs. Apples peeled, cored, and sliced into thin pieces. I used granny smith and honey crisp.
- 1 Tablespoon fresh lemon juice
- 3/4 cup light brown sugar lightly packed
- 1/4 cup granulated sugar
- 1 teaspoon ground cinnamon
- 3/4 teaspoon ground nutmeg
- 1 cup water
- 3/4 cup apple pie Bailey’s Liquor you can replace with water for an alcohol free version
- 1/4 cup cornstarch
- 2 pie crusts refrigerated or homemade
- 1 egg
- 1 Tablespoon milk
- coarse sugar optional
Instructions
- Prepare your apples by peeling, coring, and slicing into approx. 1/8″ pieces. Add the lemon juice to the inner pot of your Instant Pot and add the apples in as you slice them. Gently toss them each time you add in more to keep them from browning.
- Add the brown sugar, granulated sugar, cinnamon, nutmeg, water, and baileys (if using) into the pot and toss your apples until they are fulling coated.
- Turn the valve on the Instant Pot lid to sealing, and set on high manual pressure for 1 minute and allow to naturally release for 5 minutes.
- Once all the pressure is release, remove the lid and give the apples a good stir. Remove about 1/2 cup of liquid and place in a small bowl. Whisk in the cornstarch until completely dissolved.
- Pour the cornstarch slurry into the apples and mix until thickened.
- Transfer the apples to a large bowl and allow them to cool to room temperature. Cover and place in the refrigerator for 2-3 hours (I prefer to make it a day ahead of time and allow the apples to sit overnight).

Instructions for Baking:
- Roll out your dough and place in a 9″ pie dish. Use your thumb and forefinger from one hand and your forefinger from the other hand and “Crimp” the edges of the crust.
- Pour the apple filling into the pie crust and use a spatula to level the apples.
- Top your pie with the remaining pie crust and fold the edges in or crimp however you like.
- Mix the egg and milk in a small bowl and lightly whisk. Use a silicon brush to brush the eggwash all over the top of the crust.
- Sprinkle with coarse sugar if desired.
- Refrigerate the pie while you preheat your oven to 425 degrees F.
- Once the oven is preheated, bake the pie on 425 for 15 minutes.
- Remove from the oven and cover the outside edge of the pie with pie shields or by taking a square of aluminum foil a little bigger than the pie and fold in half, then fold in half again. Cut out the center of the foil so you will have a circle in the center. Unfold the foil and you should have a circle with 3-4 inches of foil around the sides. Form that over your pie, covering the outside crust.
- Place the pie back in the oven and reduce the heat to 350 degrees. Bake for an additional 50-60 minutes or until the center is golden and the apple filling is bubbling through the lattice openings.
- Remove the pie and allow to cool on a wire rack for 2-3 hours before cutting into it. You can cut into it sooner, but know it will be messy.
- Once the pie is cool, serve with a scoop of ice cream and enjoy!
- Store the pie in an air tight container at room temperature for up to two days.


Notes
Equipment
Did you make this recipe?
Make sure to follow on Pinterest for more recipes!

Leave A Reply!