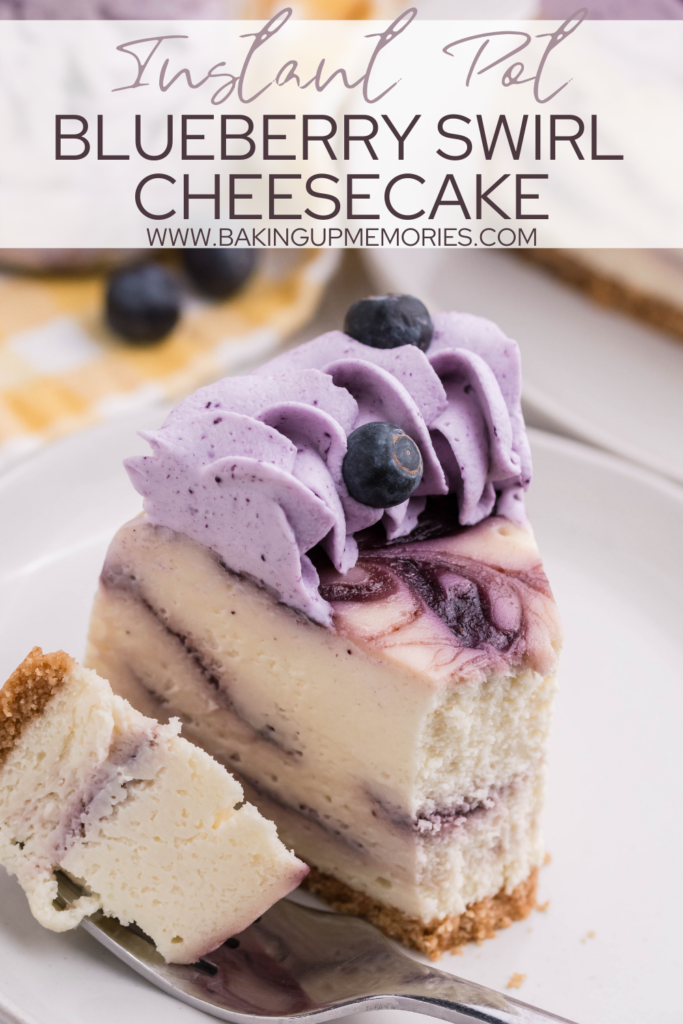
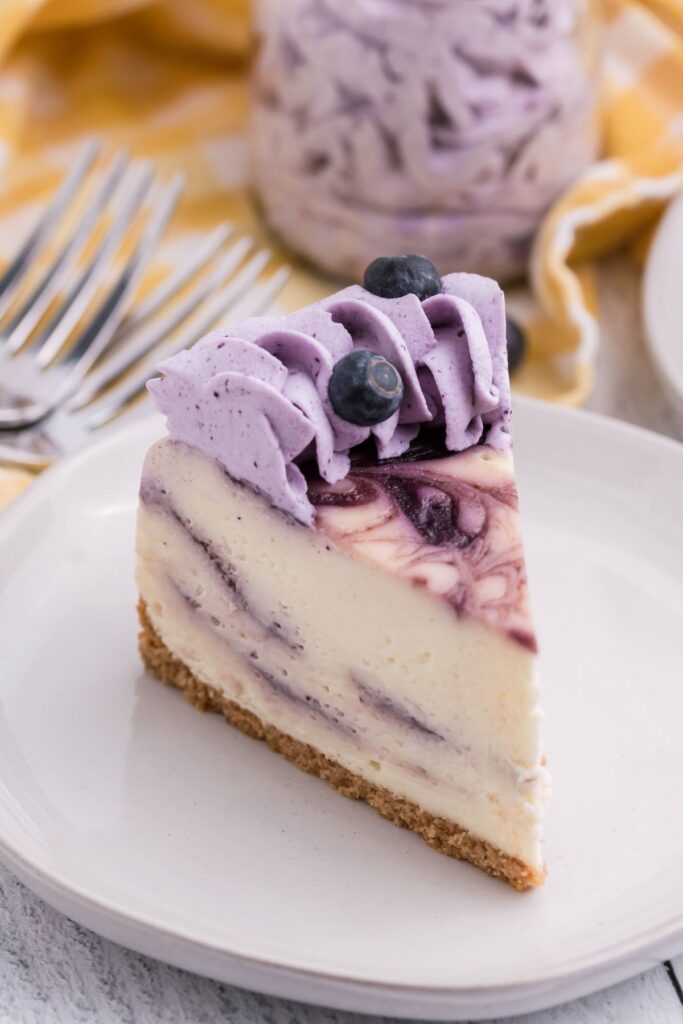
This Instant Pot Blueberry Swirl Cheesecake starts with a buttery graham cracker crust, topped with a creamy smooth cheesecake filling, and swirled with a fresh blueberry puree.
I try not to choose favorites when it comes to my recipes… but this one is definitely up there on the list! There is nothing I love more than using fresh berries (or any fruit really) in recipes, it just takes baking to a whole new level!
BLUEBERRY JAM
Blueberry jam is my JAM! I love making this just for our family to use on biscuits and toast. It is SUPER simple to make and tastes delicious in desserts or just to eat right out of the jar (not that I recommend that…).
To start, take about 1 cup of washed fresh blueberries and add them to a small saucepan. Add in about 3 tablespoons of granulated sugar, and 3 tablespoons of water. Heat over med-high heat until the berries get soft and some begin to burst. Once the berries get soft, whisk in 1 tablespoon of cornstarch dissolved in 1 tablespoon of water.
The berry mixture will get thick quick, so keep an eye out. Remove the berries from the heat and whisk in one teaspoon of pure vanilla extract.
Add the berries into a food processor and pulse for about 1 minute. You can stop here, or you can run the mixture through a fine mesh sieve and remove the seeds. I chose to run mine through a sieve because I am extra. As the jam cools it will thicken a bit more.
HOW TO MAKE AN INSTANT POT BLUEBERRY SWIRL CHEESECAKE
Step 1: Preheat your oven to 350 degrees F. and prepare a 7-inch springform pan by spraying generously with non-stick spray.
Add about 1 package of graham crackers into a food processor and pulse until you get a fine crumb. Add in the melted butter and pulse until combined. Press the crumbs into the bottom of the prepared pan and bake for 10 minutes or until golden brown.
Step 2: The most important step. Creaming the cream cheese. You want to start with room temperature cream cheese and cream it in a stand mixer on high speed for 4-5 minutes (yes seriously) to make sure it is smooth and there are no lumps.
Step 3: Mix in the granulated sugar, flour, and lemon zest. Mix until just combined. Scrape the sides and bottom of the bowl.
Step 4: Slowly pour in the heavy whipping cream and vanilla extract. Mix on low speed until combined and then slowly increase speed to high for 1-2 minutes. Scrape the sides and bottom of the bowl and make sure all of the ingredients are combined and smooth.
Step 5: Add the eggs in one at a time and mix until JUST combined. Be careful not to over mix the eggs.

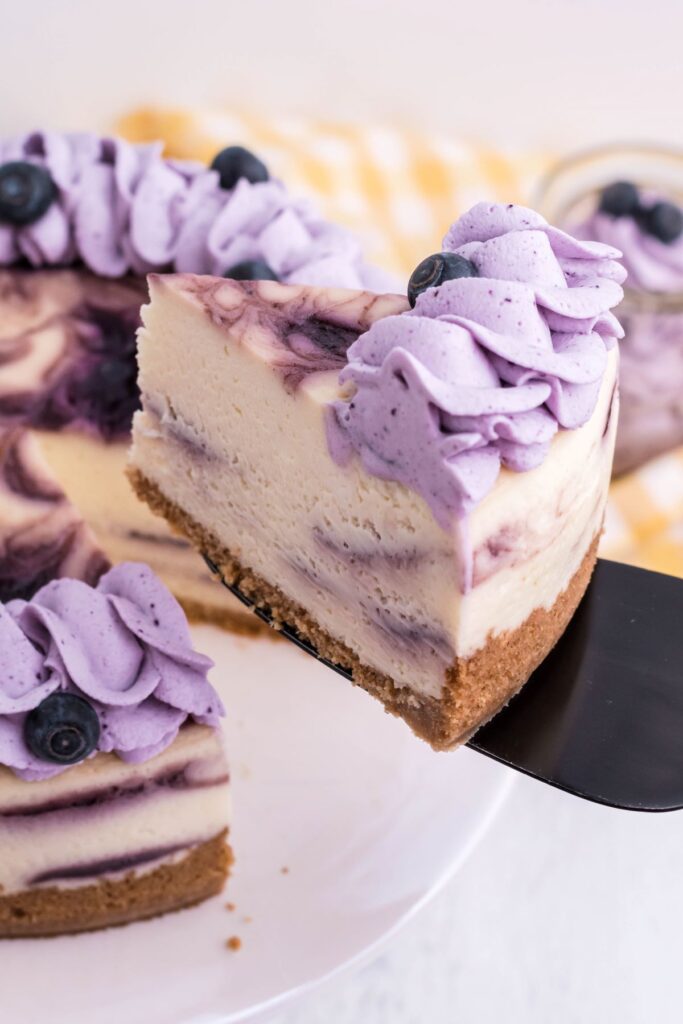
Step 6: Pour about 1/3 of the cheesecake batter into the springform pan and smooth. Take 2-3 tablespoons of the blueberry jam and drizzle over the top of the filling. Use a toothpick or skewer to swirl the jam into the filling.
Repeat for two more layers. You should have about 2-3 tablespoons of jam left, you will need that later for the topping.

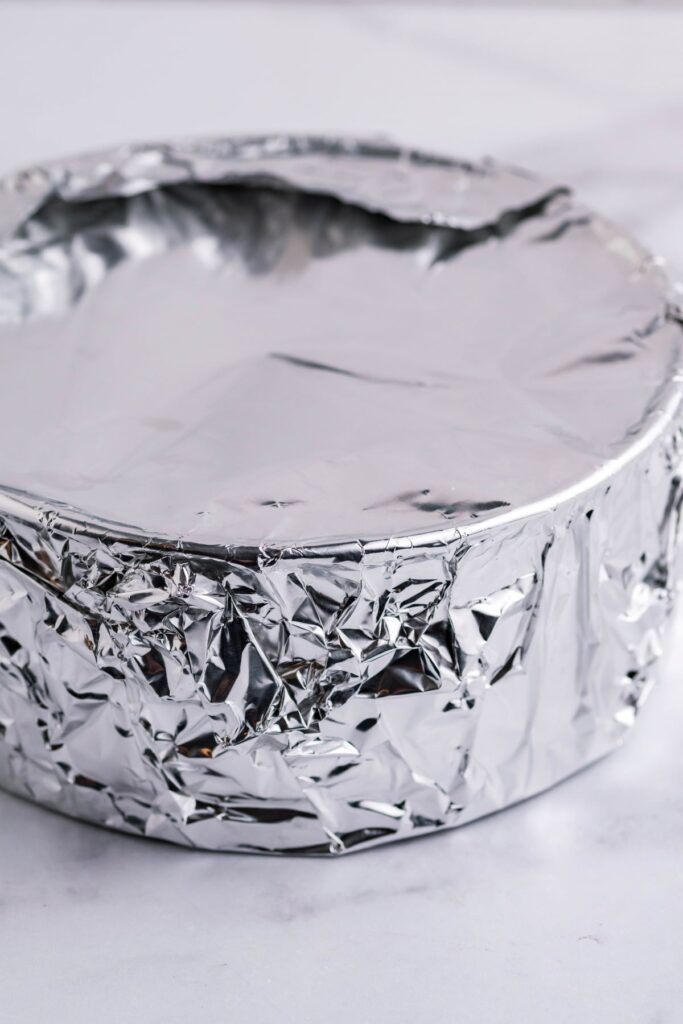
Step 7: Cover the springform completely in aluminum foil and make sure to seal around the top edges of the pan as best as you can to keep any extra moisture out. (see photo below)
Add about 1 cup of water and a trivet to the inner pot of your Instant Pot and place the cheesecake on the trivet. Seal the lid and set on high manual pressure for 50 minutes with a 10 minute natural release.
Step 8: Once you can open the Instant Pot, remove the cheesecake and remove the aluminum foil and allow the cheesecake to cool to room temperature. Once it has cooled, transfer to the refrigerator to set overnight, or at least 6 hours.
NOTE: THE CHEESECAKE WILL LOOK A LITTLE UNDERCOOKED WHEN YOU REMOVE IT FROM THE POT. IT SHOULD JIGGLE LIKE JELLO BUT SHOULD NOT LOOK RUNNY LIKE WATER. IF YOU FEEL LIKE YOU NEED TO PUT IT IN A LITTLE LONGER, DO NOT GO LONGER THAN ABOUT 10 MINUTES OR YOU WILL RISK OVERBAKING IT.. IT WILL THICKEN AS IT COOLS SO KEEP THAT IN MIND.
SUBSTITUTIONS AND VARIATIONS
- If you don’t have heavy whipping cream, or just simply don’t want to use it for whatever reason, you can replace with full fat sour cream.
- You can replace the flour in the recipe with cornstarch. I would recommend using about 1-1 ½ tablespoons of cornstarch.
- You can replace the blueberries with any berry or fruit you wish! This recipe is very versatile and would taste amazing with different fruit options.
- Some other good options would be; strawberries, raspberries, cherries, or even swirl in melted chocolate or caramel sauce!
FAQ’S
MY CHEESECAKE DOESN’T LOOK COOKED WHEN I TAKE IT OUT OF THE INSTANT POT.
That is okay! The cheesecake will look a little undercooked when you first remove it from the pot. As it cools it will begin to thicken and set. If you think that it is too undercooked, I would recommend adding it back into the Instant Pot for about five minutes, but not much longer than that.
DO I COVER THE ENTIRE SPRINGFORM IN ALUMINUM FOIL?
Yes. I like to use one large piece of foil that overlaps to keep any moisture out. I have had readers tell me that they also use a paper towel under the foil and it seems to work well for them.
DO I REMOVE THE ALUMINUM FOIL RIGHT AFTER REMOVING THE CHEESECAKE FROM THE INSTANT POT?
Yes, remove the foil as soon as it is cool enough for you to touch it. Also, leave it uncovered in the refrigerator overnight as well.
MORE INSTANT POT CHEESECAKE RECIPES YOU WILL LOVE!
INSTANT POT NEW YORK CHEESECAKE
INSTANT POT STRAWBERRY CRUNCH CHEESECAKE
INSTANT POT CHOCOLATE CRUNCH CHEESECAKE
INSTANT POT FUNFETTI CHEESECAKE
If you love this INSTANT POT BLUEBERRY SWIRL CHEESECAKE as much as I do, make sure you share it with your friends on Facebook and Pinterest so they can make it too!
RECIPE
Instant Pot Blueberry Swirl Cheesecake
Ingredients
Blueberry Swirl
- 1 cup fresh blueberries
- 3 tablespoons granulated sugar
- 1 teaspoon vanilla extract
- 1 tablespoon cornstarch dissolved in 1 tablespoon water
Crust
- 1 ¼ cups graham cracker crumbs
- 3 Tablespoons butter melted
Filling
- 24 oz. cream cheese room temperature
- ¾ cup granulated sugar
- 3 tablespoons flour
- 1 teaspoon vanilla extract
- ½ cup heavy whipping cream
- 2 eggs
Blueberry whipped cream
- 1 cup heavy whipping cream cold
- 1/2 cup powdered sugar
- 3 tablespoons blueberry puree
Instructions
Blueberry Swirl:
- Add blueberries, sugar, and 3 tablespoons water to a small saucepan and heat over med-high head until the berries soften and start to bust.
- Add the cornstarch slurry and whisk until the mixture thickens.
- Once thickened, remove from heat and whisk in the vanilla extract.
- Pour the berry mixture into a food processor and puree. You can stop at this step or you can run the mixture through a fine mesh sieve and remove any seeds.
Crust
- Preheat your oven to 350 degrees/F.
- Add graham crackers to a food processor until you get about 1 ¼ cups of crumbs. Add in the melted butter and pulse until combined.
- Pour into the bottom of a greased 7″ springform pan and use your hand or the back of a spoon to press and form a crust bringing the crumbs up about 1 inch on the sides.
- Bake the crust for 10 minutes or until golden. Remove and cool on a wire rack.
Filling
- In the bowl of a stand mixer (or use a hand mixer) with a paddle attachment, cream the cream cheese for 3-4 minutes or until completely smooth and there are no lumps.
- Slowly pour in the sugar and flour. Mix until just combined.
- Add vanilla and heavy cream. Mix on low speed until combined. Slowly increase the speed to high for about 1 minute,
- Scrape the sides and bottom of the bowl and make sure there are no lumps. Give one final mix before adding the eggs.
- Add the eggs one at a time and mix just until the yolk disappears into the batter.
- Pour 1/3 of the batter into the prepared crust and gently tap the bottom of the pan on the counter to release any air bubbles. Drizzle 2-3 tablespoons of the blueberry puree over the filling and use a toothpick to swirl. Repeat with three more layers.
- Cover the pan completely with aluminum foil. Add one cup of water into the inner pot of your Instant Pot and add in the trivet,
- Place the cheesecake on top of the trivet and set your pot to high pressure for 50 minutes and allow to naturally release for 10 minutes.
- Once you can open the pot, remove the aluminum foil and allow the cheesecake to cool to room temperature on a wire rack.
- Place the cheesecake in the refrigerator to set for at least 6 hours but overnight is recommended.
Blueberry Whipped Cream
- Add the cold heavy whipping cream into the bowl of a stand mixer equipped with a whisk attachment.
- Add the powdered sugar and start mixing on a low speed until combined.
- Add the blueberry puree and mix on low speed until combined, then slowly increase speed to high until stiff peaks form. About 4 or 5 minutes.
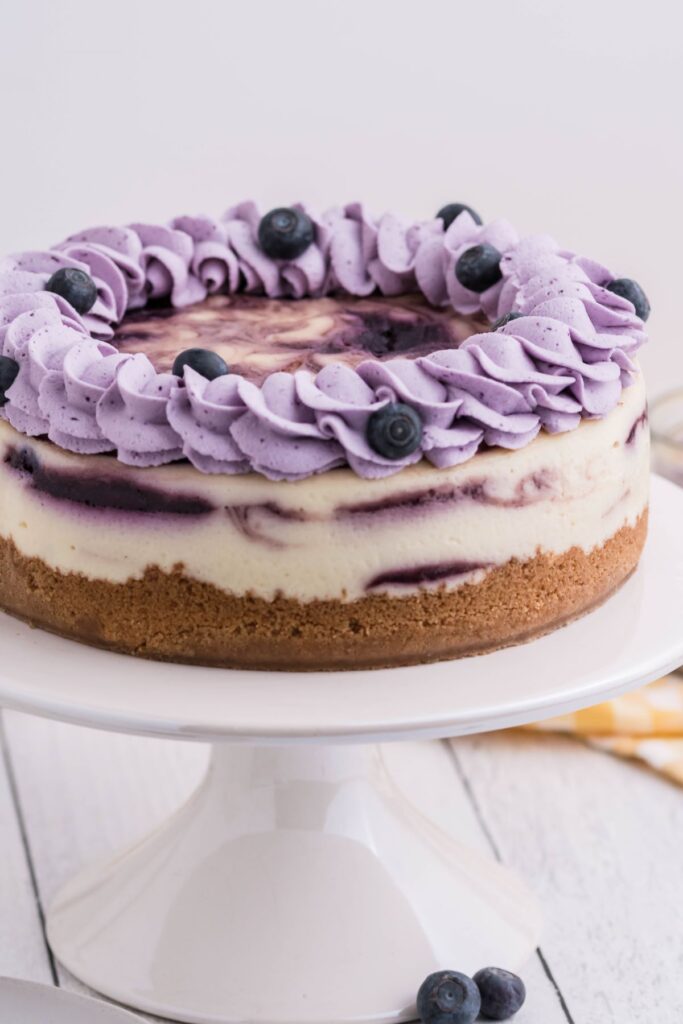
- Add the whipped cream to a piping bag with a large star tip and pipe the whipped cream around the top of the cheesecake. Top with fresh blueberries if desired.
- Serve and enjoy!
- Keep stored in an airtight container in the refrigerator for up to three days.
Equipment
Did you make this recipe?
Make sure to follow on Pinterest for more recipes!

Comments & Reviews
Cheesecake is kind of intimidating for me, but you make this look totally doable (and delicious)! Thanks for explaining it so well!
Thank you so much! I am so happy to hear that. I am more than willing to answer any questions you may have 🙂
I ended up with way too much filling and also too much of the crust mixture for my 7in pan. I ended up only doing two layers and it was filled to the top. We’ll see how it turns out!
I actually used a 7.5 inch pan for this! There was an error on my end im so sorry about that! It should turn out great tho!
Could I use a sweetener like Monk sugar? Would it change the filling much?
I don’t imagine it would, as long as the sugar you use can be replaced 1:1 it should be fine 🙂
I made this last night. There is way too much batter for the 7″ pan. I used the extra batter in a couple smaller pans. I wrapped just the top & sides of the pan with foil, and the cake was stuck to the foil when I pulled it off. I’m finishing it when I get home today. It will be dessert tonight. I’m sure it will taste good.
Thank you for your comment! I did make a mistake in a few of my recipes and listed the pan I used as a 7″ instead of the intended 7.5 inch pan. I will make sure to go through and make those changes. I am sure it will still taste fantastic!